Hello Crust
This doc will walk you through a typical process to save and publish a simple website in Crust Network, to help you understand the basic steps to use Crust before you write any code. In this tutorial, we will build a simple React website, put to IPFS, and leverage Crust to store and pin it. The techniques you'll learn in the tutorial are fundamental to building with Crust Storage, and mastering it will give you a deep understanding of Crust storage functions.
Hello, Crust
1. Setup Crust CLI
Please make sure you have Node.js env, refer to this to install.
- Install Crust Command Line
sudo npm i -g @crustio/crust-cli
- Create a React app
npx create-react-app hello-crust
- Build it
cd hello-crust/
PUBLIC_URL=./ npm run build
2. Store, Pin and Publish
Please make sure you have IPFS running locally, refer to this to install and run.
- Login with seeds
SEEDS are 12 secret words of your Crust Account. You can refer to this to create your Crust Account.
crust-cli login [SEEDS]
- Pin
build/
crust-cli pin build/
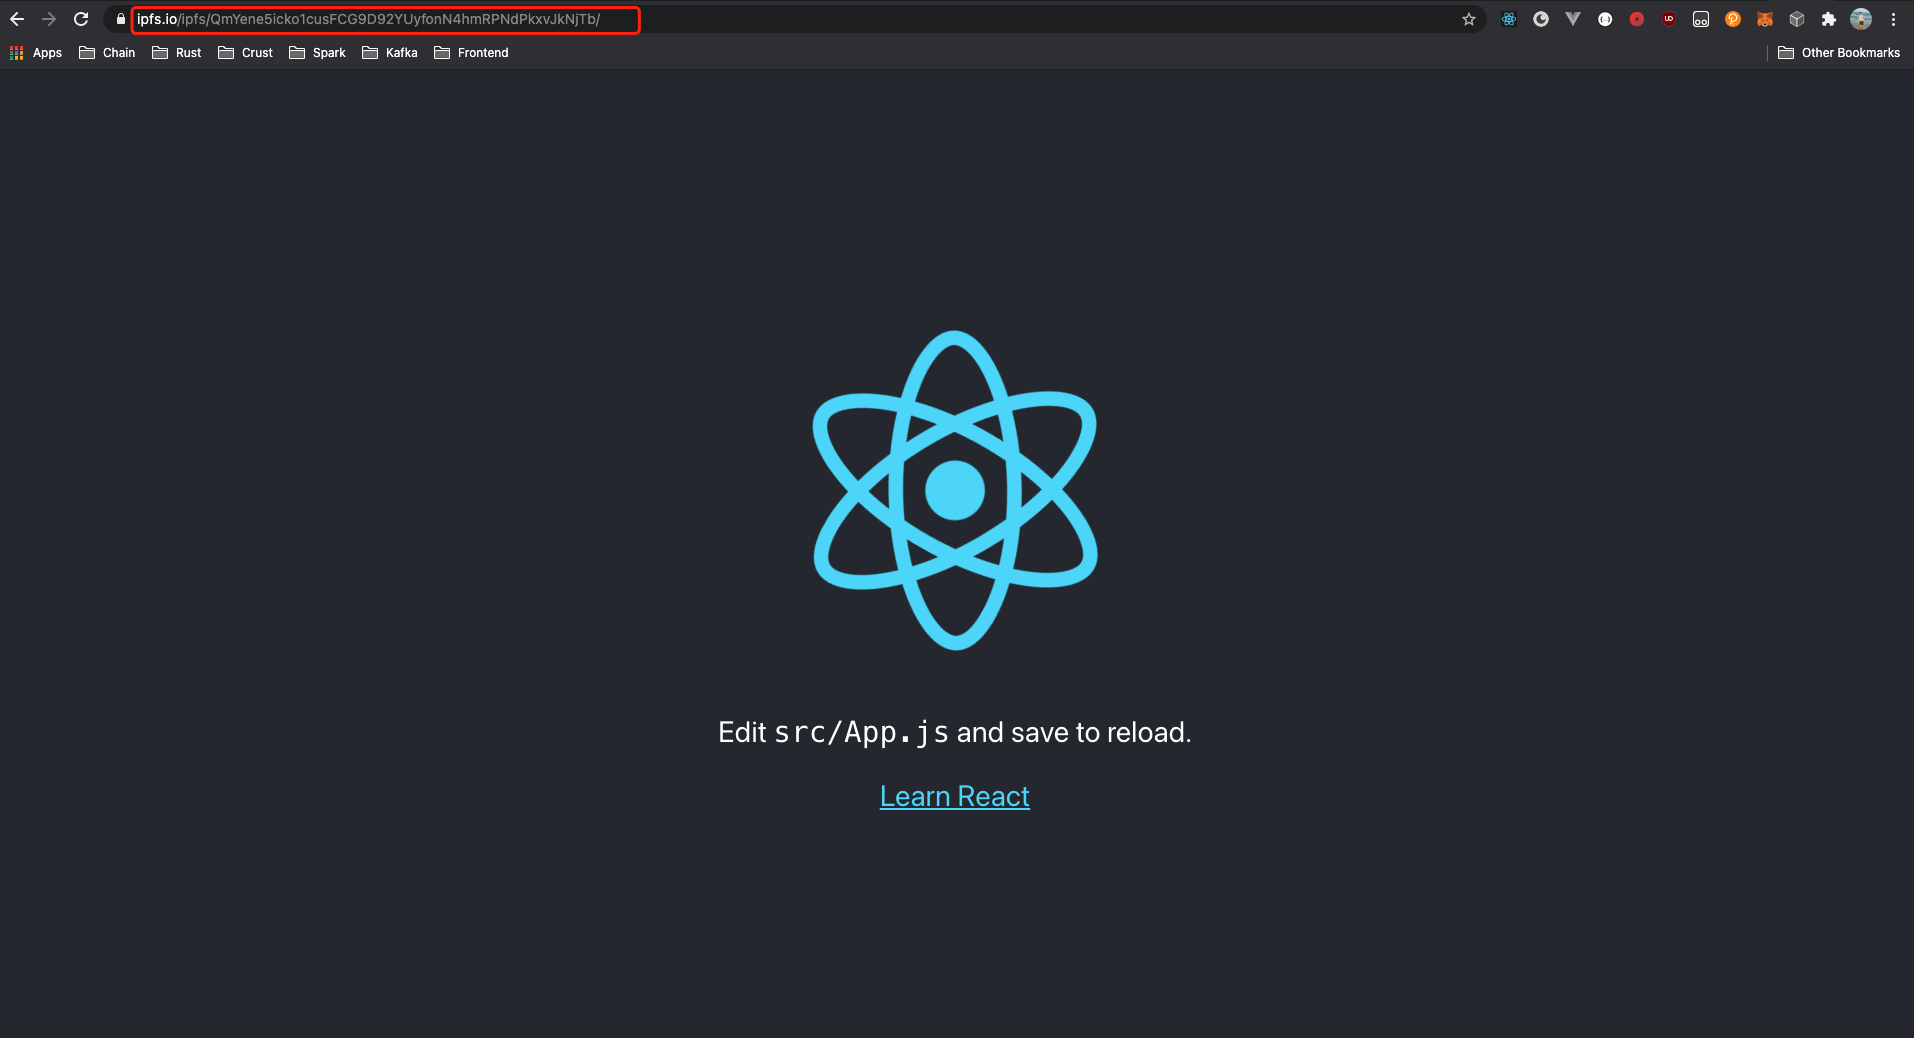
You'll get an IPFS cid in this step, like QmYene5icko1cusFCG9D92YUyfonN4hmRPNdPkxvJkNjTb.
- Publish
build/
crust-cli publish QmYene5icko1cusFCG9D92YUyfonN4hmRPNdPkxvJkNjTb
Now your website is published into Crust Network. Storage nodes in Crust Network will get notified and try to pull your website to store.
3. Query status
After you publish your website, you can run this command to monitor if your website is picked by any storage nodes
crust-cli status QmYene5icko1cusFCG9D92YUyfonN4hmRPNdPkxvJkNjTb
✅ QmYene5icko1cusFCG9D92YUyfonN4hmRPNdPkxvJkNjTb picked, replicas: 24
4. Access it
Congrats, you can now access your website via any standard IPFS interface and gateway, such as following public IPFS gateway that Crust contributes:
https://crustwebsites.net/ipfs/QmYene5icko1cusFCG9D92YUyfonN4hmRPNdPkxvJkNjTb
Learn
The tutorial above includes the interaction steps with IPFS and Crust Chain using Crust command line tool. You can continue on reading code sample to start coding to do the same thing.